Why Choose Arduino IDE 2 for ESP32 Development?
Welcome to the exciting new era for Arduino development! Arduino IDE 2 represents a significant upgrade from its predecessor, featuring increased performance, an improved user interface, and powerful new capabilities like autocompletion, a built-in debugger, and cloud synchronization.
According to the official Arduino website: "The Arduino IDE 2.0 is an improvement of the classic IDE, with increased performance, improved user interface and many new features, such as autocompletion, a built-in debugger and syncing sketches with Arduino Cloud."
Prerequisites: Installing Arduino IDE 2
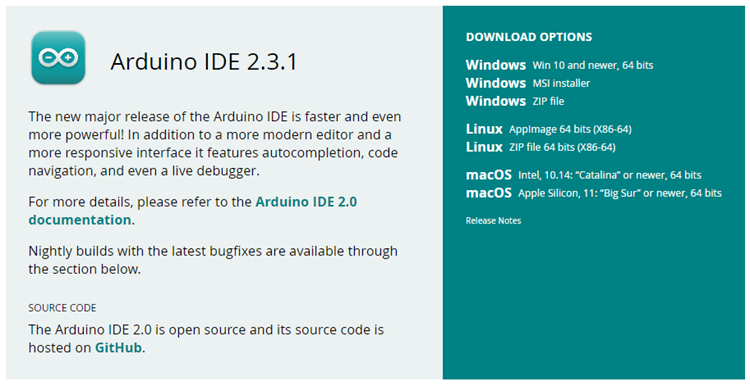
Before we begin installing the ESP32 boards, you need to have Arduino IDE 2 properly installed on your computer. Follow these platform-specific instructions:
For Windows users, simply run the downloaded installer file and follow the installation guide instructions. We recommend selecting the first option during installation for the best experience.
Mac OS X users should copy the downloaded file directly into their Applications folder. Once copied, you can launch Arduino IDE 2 from your Applications directory.
Linux users need to extract the downloaded file, navigate to the extracted directory, and run the arduino-ide executable file to launch the IDE.
Step-by-Step: Installing ESP32 Add-on in Arduino IDE 2
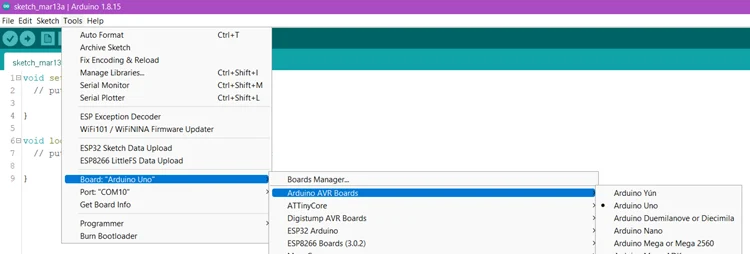
1 Open Boards Manager
Launch Arduino IDE 2 and open the Boards Manager. You can access it through the menu by navigating to Tools > Board > Boards Manager... or simply click the convenient Boards Manager icon located in the left-side corner of the interface.
2 Install ESP32 Board Package
In the Boards Manager search bar, type "ESP32" and look for the official entry by Espressif Systems. Install version 3.X or later by clicking the Install button.
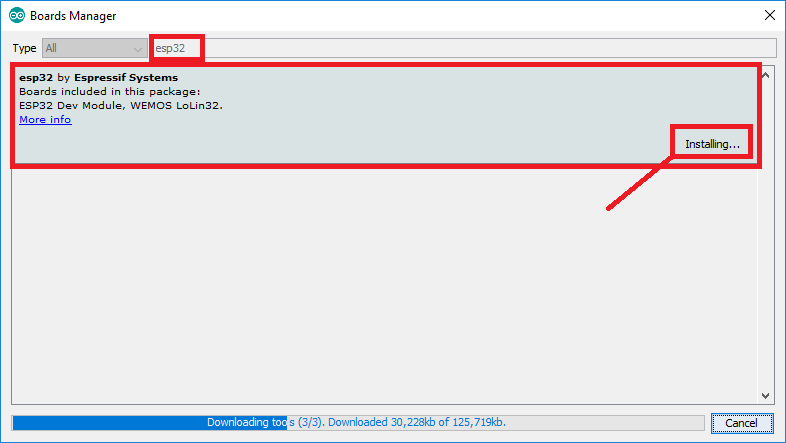
Wait for the installation to complete. This may take a few minutes depending on your internet connection speed.
3 Verify Installation
Once installed, you should see ESP32 boards available in the board selection menu. Navigate to Tools > Board and you should find various ESP32 board options in the list.
Testing Your Installation
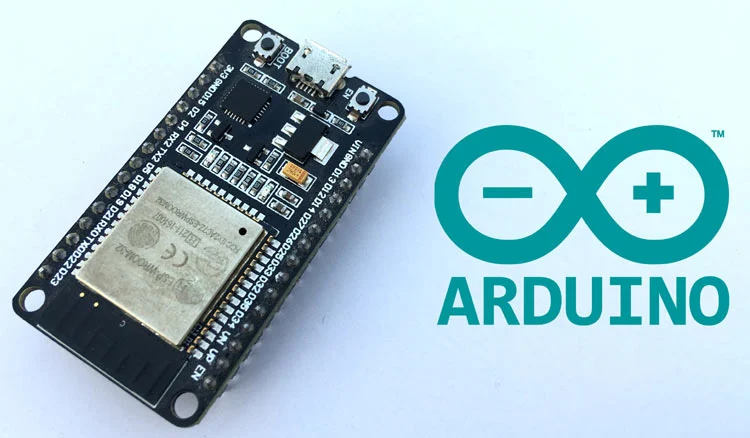
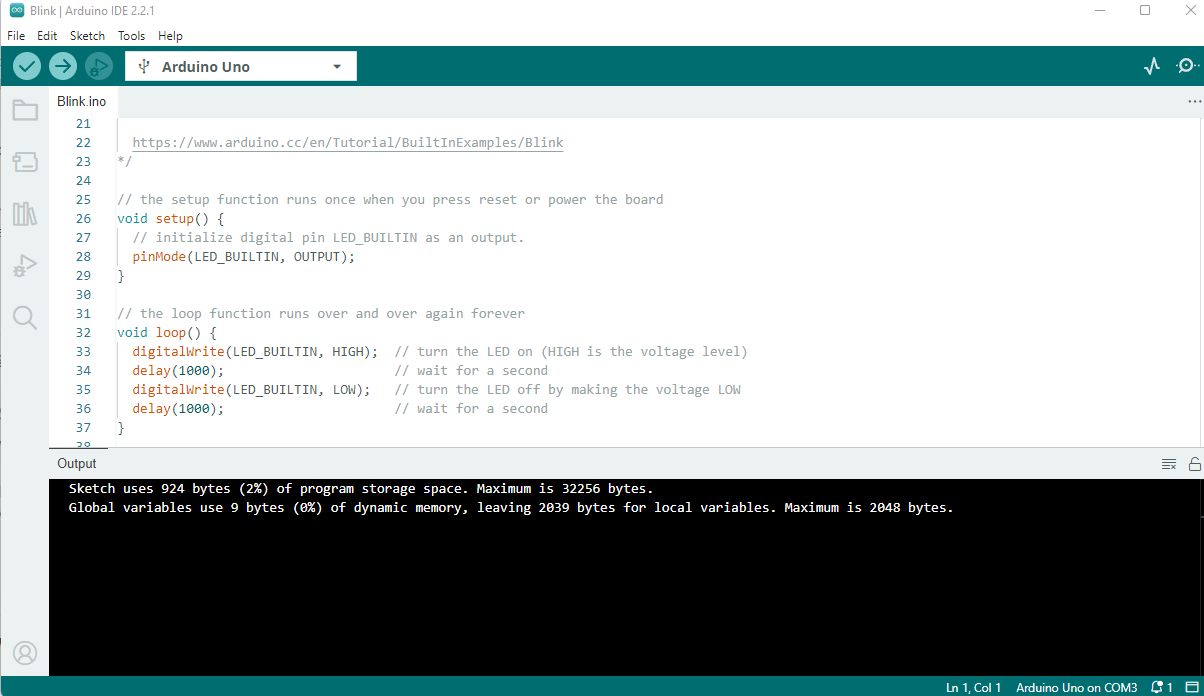
To verify that the ESP32 add-on installed correctly, we'll upload a simple blink sketch that controls the on-board LED (typically connected to GPIO 2).
Copy the following code into your Arduino IDE:
                    #include <Arduino.h>

                    #define LED 2

                    void setup() {
                    // put your setup code here, to run once:
                    Serial.begin(115200);
                    pinMode(LED, OUTPUT);
                    }

                    void loop() {
                    // put your main code here, to run repeatedly:
                    digitalWrite(LED, HIGH);
                    Serial.println("LED is on");
                    delay(1000);
                    digitalWrite(LED, LOW);
                    Serial.println("LED is off");
                    delay(1000);
                    }
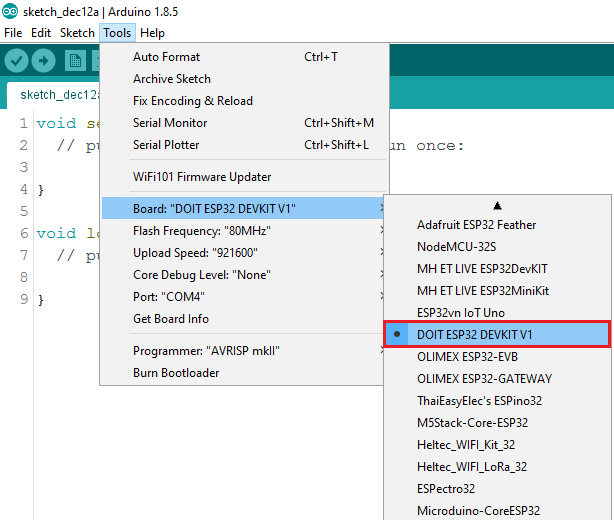
4 Select Board and Port
Before uploading, select your specific ESP32 board and COM port. Click on the top drop-down menu labeled "Select other board and port..." and choose your ESP32 model from the list.
5 Upload the Code
Click the Upload button (right arrow icon) to compile and transfer the code to your ESP32. The upload progress will be shown in the bottom panel of the IDE.
Troubleshooting Common Issues
Upload Timeout Error
If you see "A fatal error occurred: Failed to connect to ESP32: Timed out... Connecting..." it means your ESP32 isn't in flashing mode. Follow these steps:
- Hold down the BOOT button on your ESP32 board
- Press the Upload button in Arduino IDE
- Release the BOOT button when you see "Connecting..." in the IDE
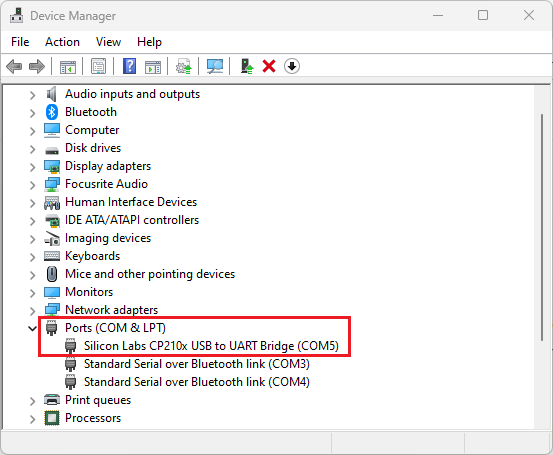
COM Port Not Found
If your COM port doesn't appear or isn't accessible, you may need to install the appropriate USB-to-UART drivers. For many ESP32 boards, this means installing CP210x or CH340 drivers available from the manufacturer's website.
Extending Functionality
After successfully installing ESP32 boards, you might want to add the filesystem uploader plugin. This handy tool allows you to easily upload files to the ESP32 filesystem (LittleFS) – perfect for web server projects, storing configuration files, or managing HTML/CSS/JavaScript assets.
Congratulations! You've successfully installed ESP32 boards in Arduino IDE 2 and uploaded your first working sketch. Happy coding with your ESP32 and Arduino IDE 2!