Introduction to the World of ESP32
The ESP32 represents a groundbreaking series of low-cost, low-power System on a Chip (SoC) microcontrollers developed by Espressif Systems. These powerful chips combine wireless Wi-Fi and Bluetooth capabilities with a dual-core processor architecture, making them exceptionally versatile for diverse applications.
If you've previously worked with the ESP8266, consider the ESP32 its feature-packed successor that builds upon that foundation with substantial enhancements. This comprehensive guide delivers everything you need to begin your ESP32 journey.
Why Choose ESP32?
Exceptional Affordability
Starting at approximately $6, ESP32 boards are remarkably accessible to hobbyists, students, and professionals alike.
Power Efficiency
Designed with energy-conscious operation in mind, supporting multiple low-power states including deep sleep mode.
Wireless Connectivity
Offers dual-mode Wi-Fi capabilities – station mode and access point mode for device-to-device communication.
Bluetooth Integration
Supports both Bluetooth Classic and Bluetooth Low Energy (BLE), expanding possibilities for wireless applications.
Technical Specifications Overview
For those who appreciate technical details, here are the key ESP32 specifications:
Wireless Connectivity
Wi-Fi: 150 Mbps data rate with HT40
Bluetooth: BLE and Bluetooth Classic
Processor
Tensilica Xtensa Dual-Core 32-bit LX6 microprocessor operating at 160 or 240 MHz
Memory Architecture
ROM: 448 KB, SRAM: 520 KB, RTC SRAM: 16 KB total, eFuse: 1 Kbit
Security Features
Hardware accelerators for AES and SSL/TLS encryption for secure communications.
ESP32 vs. ESP8266: Understanding the Evolution
While the ESP8266 pioneered accessible Wi-Fi microcontrollers, the ESP32 represents a significant evolution with enhanced capabilities:
| Feature | ESP32 | ESP8266 |
|---|---|---|
| Processing Cores | Dual-core architecture | Single core |
| Wireless Connectivity | Wi-Fi + Bluetooth 4.2 and BLE | Wi-Fi only |
| GPIO Pins | More GPIOs with greater functional flexibility | Limited GPIO options |
| Analog Capabilities | 18-channel analog measurement support | Single 10-bit ADC pin |
| Special Features | Touch-sensitive pins, hall effect sensor | None |
| Typical Cost | $6-$12 | $4-$6 |
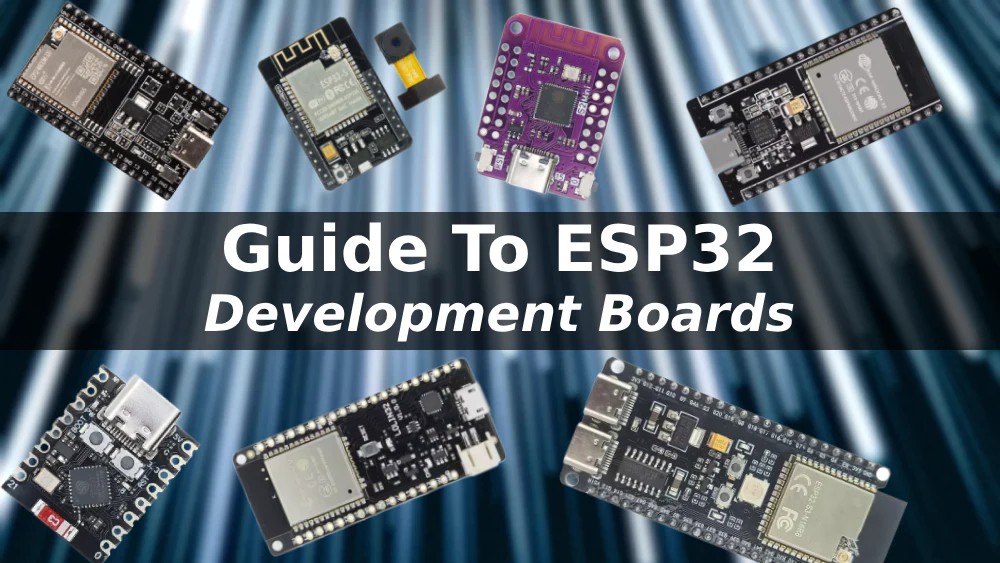
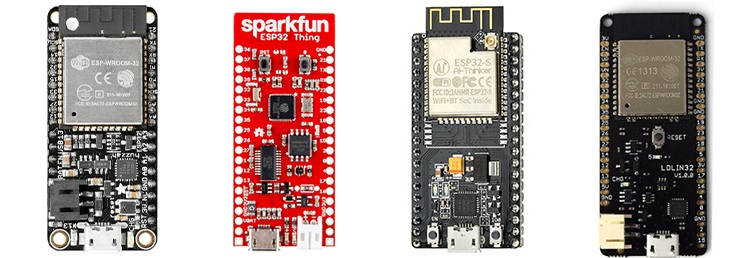
Selecting Your ESP32 Development Board
While "ESP32" technically refers to the chip itself, the term commonly describes complete development boards that package the chip with essential support circuitry. These boards simplify prototyping by including power regulation, programming interfaces, and accessible pin headers.
1 Key Considerations When Choosing a Board
- Programming Interface: Look for boards with USB-to-UART circuitry and voltage regulation
- Control Features: Ensure your board has RESET/EN and BOOT buttons
- Pin Accessibility: Verify you have access to a detailed pinout diagram
- Antenna Options: Some boards offer connectors for external antennas to extend Wi-Fi range
- Power Flexibility: Dedicated battery connectors for portable applications
- Specialized Features: Consider integrated components like OLED displays, cameras, or LoRa modules
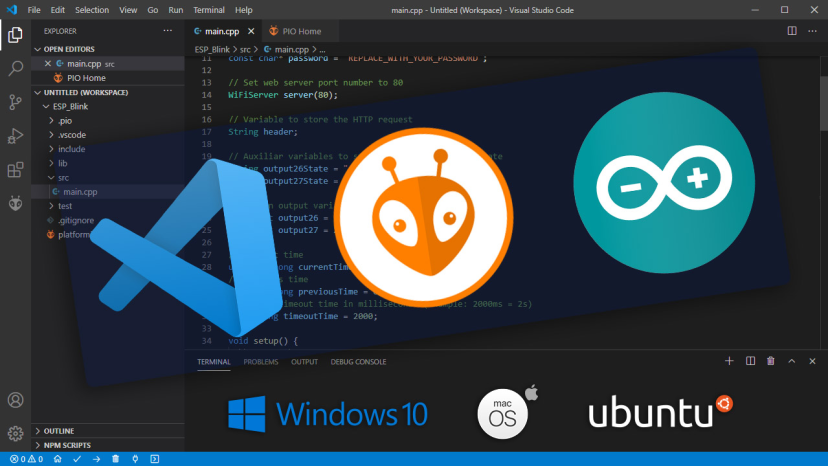
Programming Your ESP32: Multiple Pathways
The ESP32 supports various programming approaches to match different skill sets and project requirements:
2 Available Programming Options
- Arduino C/C++ using the Arduino core for ESP32 (recommended for beginners)
- Espressif IDF (IoT Development Framework) for advanced, optimized applications
- MicroPython for Python enthusiasts
- JavaScript and Lua for alternative scripting approaches
For beginners, we recommend focusing on the Arduino programming approach using the familiar Arduino IDE, which provides the gentlest learning curve for those new to embedded systems or transitioning from Arduino platforms.
Getting Started with Your First Project
3 Your Next Steps with ESP32
With this foundational knowledge, you're ready to embark on your ESP32 development journey. Begin by:
- Selecting and purchasing a suitable ESP32 development board
- Setting up your programming environment with Arduino IDE
- Exploring basic examples like blinking the onboard LED
- Gradually progressing to Wi-Fi connectivity and sensor integration projects
