Introduction to ESP-NOW Wireless Communication
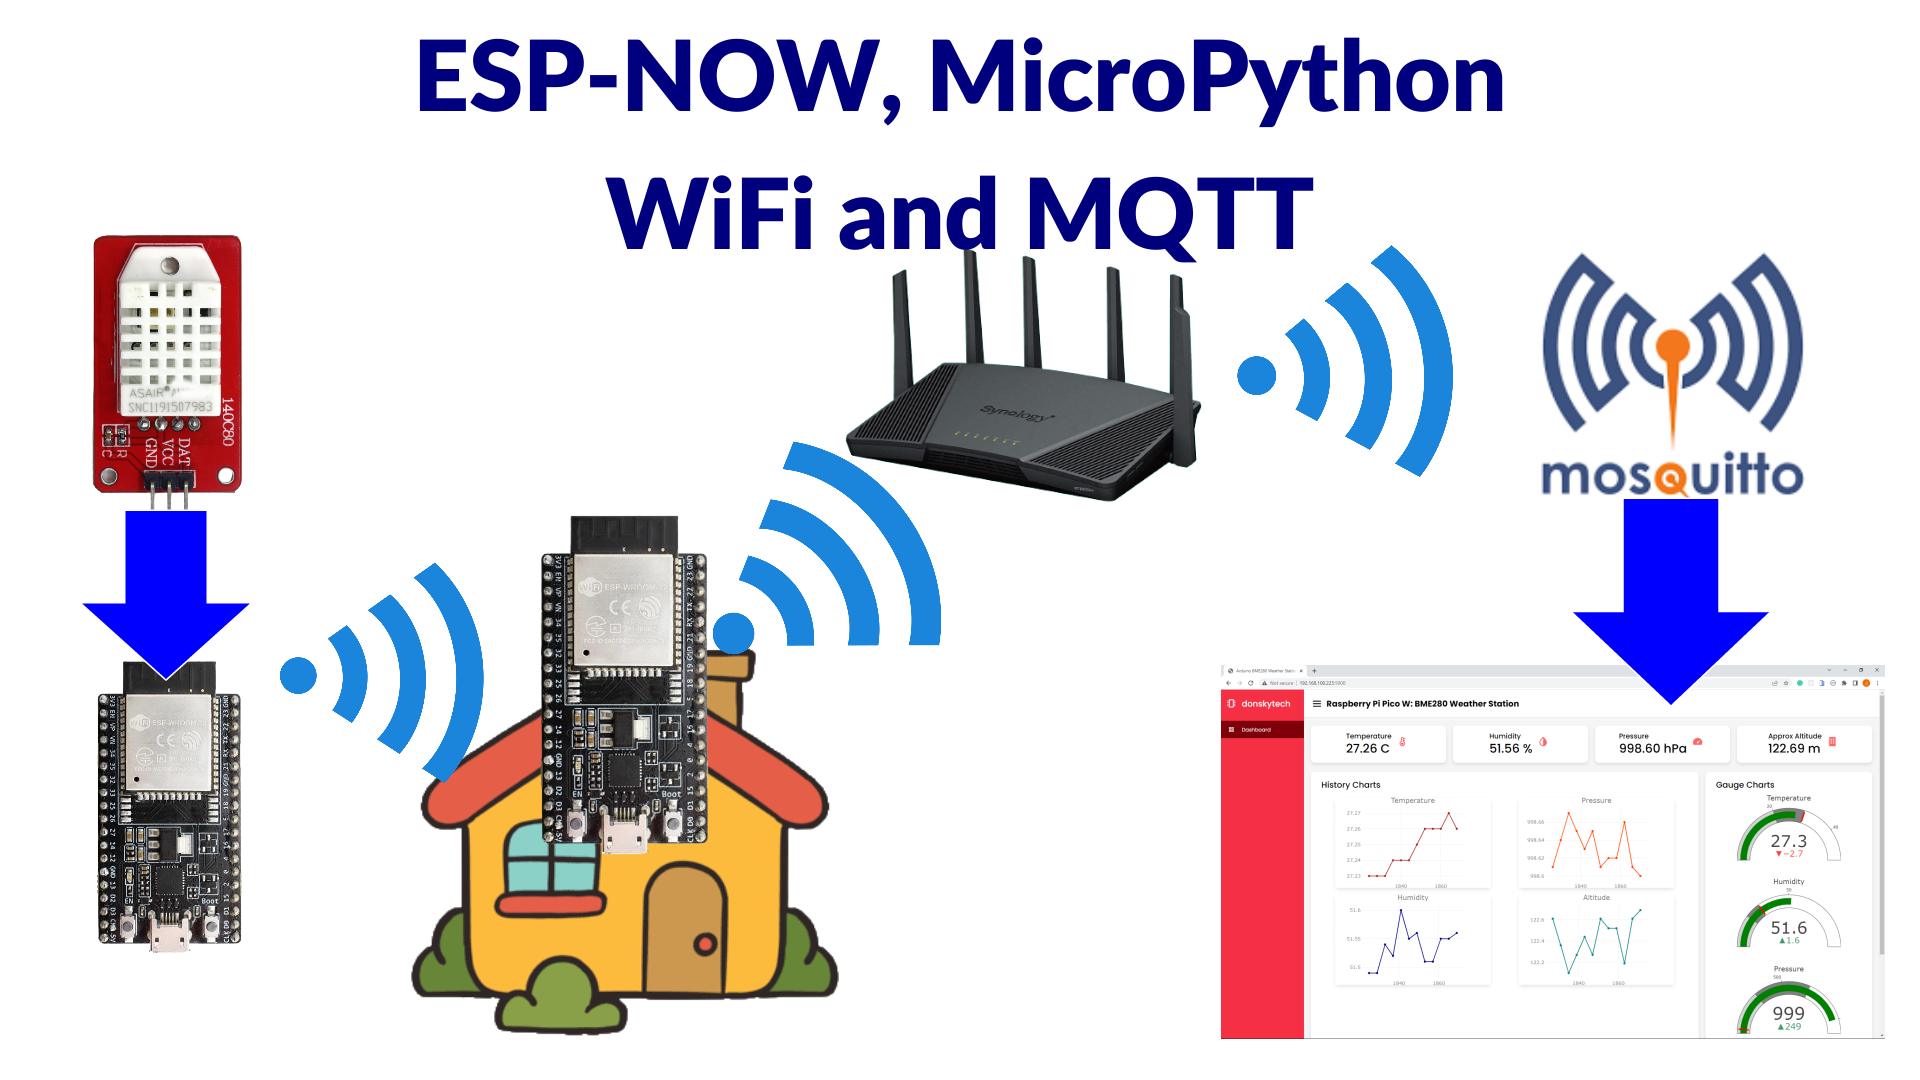
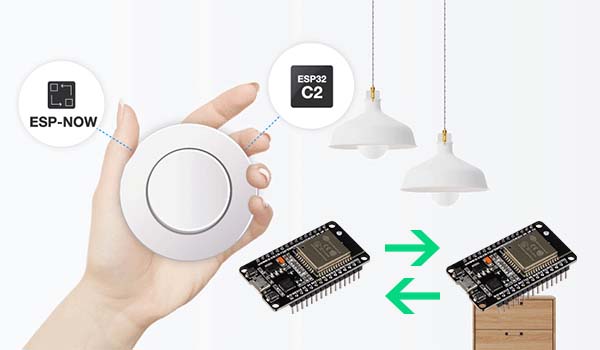
ESP-NOW is a powerful, connectionless communication protocol developed by Espressif that enables direct device-to-device data exchange with minimal latency and power consumption. Unlike traditional Wi-Fi that requires constant connection maintenance, ESP-NOW sends data without establishing persistent connections first, making it perfect for IoT projects, home automation, sensor networks, and remote control applications.
According to Espressif's official documentation: "ESP-NOW is a protocol developed by Espressif, which enables multiple devices to communicate with one another without using Wi-Fi. The protocol is similar to the low-power 2.4GHz wireless connectivity. The pairing between devices is needed prior to their communication. After the pairing is done, the connection is safe and peer-to-peer, with no handshake being required."
What Makes ESP-NOW Special?
ESP-NOW operates on a peer-to-peer basis, meaning devices communicate directly with each other after initial pairing. Once paired, connections become persistent - even if a device loses power or resets, it automatically reconnects to its peer when restarted. This reliability makes ESP-NOW particularly suitable for applications requiring consistent communication between devices.
Key ESP-NOW Features
- Connectionless Protocol: No persistent connection required before data transmission
- Low Latency: Fast data transmission without connection handshake
- Low Power Consumption: Optimized for battery-powered applications
- Encryption Options: Supports both encrypted and unencrypted unicast communication
- Mixed Device Support: Can handle both encrypted and unencrypted peer devices simultaneously
- Payload Capacity: Can carry payloads up to 250 bytes
- Callback Functions: Built-in send/receive status notifications
ESP-NOW Limitations
- Limited Encrypted Peers: Maximum of 10 encrypted peers in Station mode, 6 in SoftAP or SoftAP+Station mode
- Total Peer Limit: Total number of peers (including encrypted) should be less than 20
- Payload Limit: Restricted to 250 bytes per transmission
- Range Considerations: Similar to standard Wi-Fi range limitations (typically up to 100-200 meters line-of-sight)
ESP-NOW Communication Architectures
ESP-NOW offers flexible network configurations to suit various project requirements. Understanding these architectures will help you design efficient communication systems.
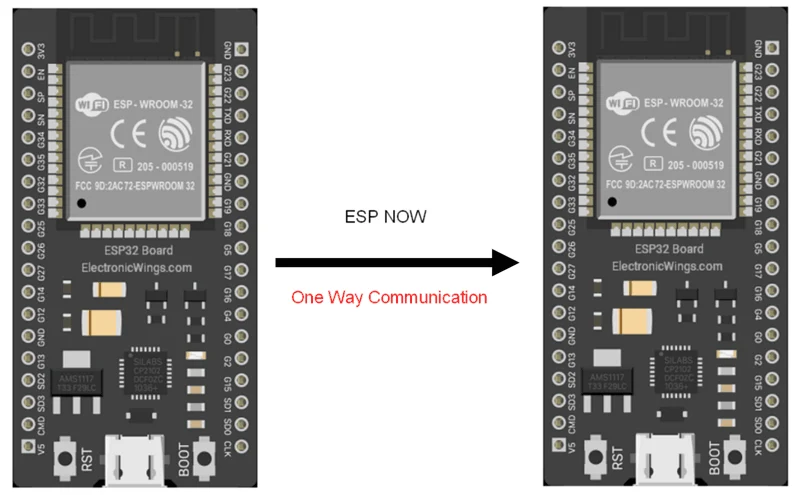
1 One-Way Communication
One-to-One Communication: The simplest configuration where one ESP32 board sends data to another single ESP32 board. Perfect for sending sensor readings from a remote node to a central display unit or transmitting ON/OFF commands to control GPIOs.
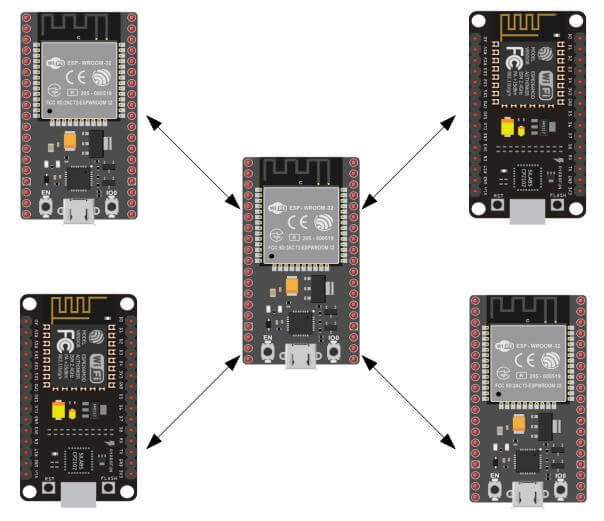
One-to-Many Communication: One ESP32 board sends commands to multiple ESP32 boards simultaneously. Excellent for building remote control systems where a central controller manages several devices.
Many-to-One Communication: Multiple ESP32 boards send data to a single ESP32 board. Ideal for data aggregation scenarios where you want to collect sensor readings from multiple nodes into one central location.
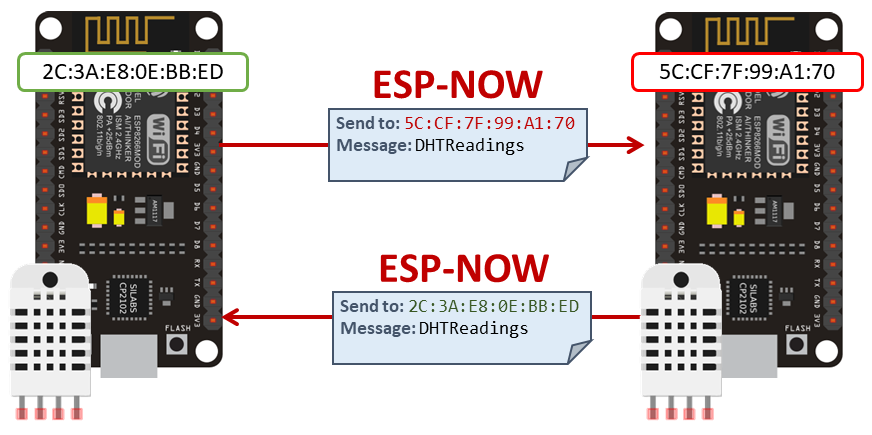
2 Two-Way Communication
Direct Two-Way Communication: Each board can act as both sender and receiver simultaneously. This enables true bidirectional communication between two devices for interactive applications.
Mesh-Style Networks: Expand two-way communication to multiple boards, creating what resembles a mesh network where all ESP32 boards can communicate with each other. While not a true mesh network technically (each device needs pairing with every other device it communicates with), this configuration allows flexible data exchange between multiple nodes.
Prerequisites: What You Need
Before implementing ESP-NOW communication, ensure you have the proper setup:
Required Hardware
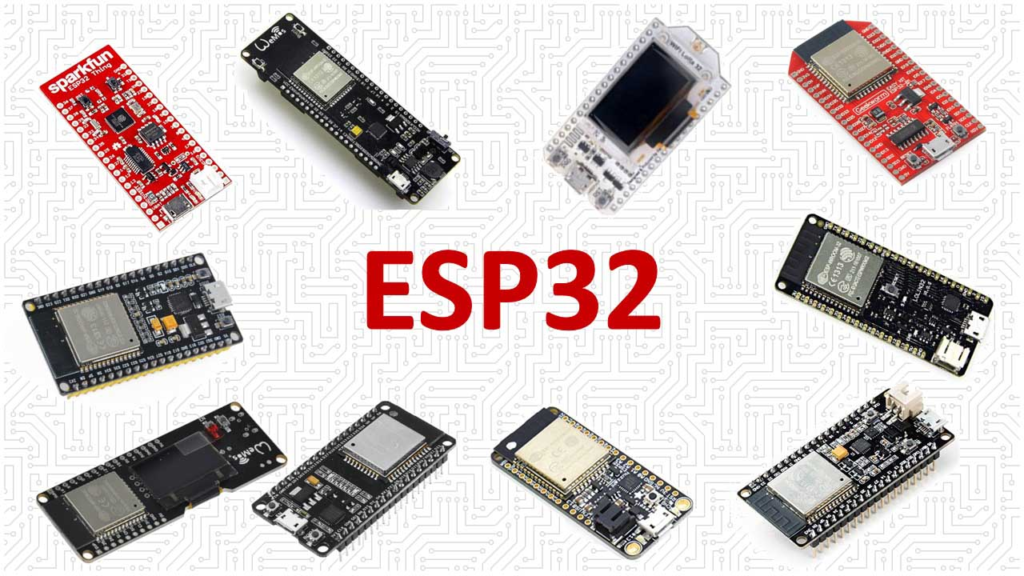
- Two or more ESP32 development boards
- USB cables for programming and power
- Breadboards and jumper wires (optional, depending on your project)
- Additional sensors/actuators if extending the basic examples
Required Software
- Arduino IDE (latest version recommended)
- ESP32 Board Support installed in Arduino IDE
- ESP-NOW and Wi-Fi libraries (included with ESP32 board package)
- Serial terminal program (like Arduino Serial Monitor)
Getting Started: Finding Your ESP32 MAC Address
To communicate via ESP-NOW, you need to know the MAC (Media Access Control) address of your ESP32 receiver boards. Each ESP32 has a unique MAC address that identifies it on the network.
Upload the following code to each ESP32 board to retrieve its MAC address:
                    #include <WiFi.h>
                    #include <esp_wifi.h>

                    void readMacAddress(){
                    uint8_t baseMac[6];
                    esp_err_t ret = esp_wifi_get_mac(WIFI_IF_STA, baseMac);
                    if (ret == ESP_OK) {
                        Serial.printf("%02x:%02x:%02x:%02x:%02x:%02x\n",
                                    baseMac[0], baseMac[1], baseMac[2],
                                    baseMac[3], baseMac[4], baseMac[5]);
                    } else {
                        Serial.println("Failed to read MAC address");
                    }
                    }

                    void setup(){
                    Serial.begin(115200);

                    WiFi.mode(WIFI_STA);
                    WiFi.STA.begin();

                    Serial.print("[DEFAULT] ESP32 Board MAC Address: ");
                    readMacAddress();
                    }

                    void loop(){
                    // Empty loop
                    }
1 Upload and Retrieve MAC Address
After uploading the code to each ESP32, open the Serial Monitor at 115200 baud and press the ESP32's RST/EN button. You'll see output similar to:
[DEFAULT] ESP32 Board MAC Address: 30:AE:A4:07:0D:64
Write down the MAC addresses of all your boards - you'll need them when configuring your sender sketches.
Essential ESP-NOW Functions
Before implementing our communication system, let's review the key ESP-NOW functions you'll be using:
Core ESP-NOW Functions
| Function Name | Description |
|---|---|
esp_now_init() |
Initializes ESP-NOW. You must initialize Wi-Fi before calling this function. |
esp_now_add_peer() |
Pairs your device with another ESP-NOW device. Requires the peer's MAC address. |
esp_now_send() |
Sends data to a paired peer device. |
esp_now_register_send_cb() |
Registers a callback function triggered when data is sent. Informs you whether transmission succeeded. |
esp_now_register_recv_cb() |
Registers a callback function triggered when data is received from a paired device. |
Building a Basic ESP-NOW Communication System
Let's create a simple point-to-point communication system with one sender and one receiver. This foundation will help you understand core concepts before moving to more complex configurations.
Project Overview
In this basic project:
- ESP32 Sender: Periodically sends a data structure containing different variable types
- ESP32 Receiver: Receives the data structure and displays it on the Serial Monitor
We'll transmit a structure containing four different data types: char array, integer, float, and boolean. This approach demonstrates how to handle various data types and gives you a template for your own projects.
ESP32 Sender Sketch
Here's the complete code for the ESP32 sender board. Copy it to your Arduino IDE, but don't upload it yet - you'll need to modify it first.
                    #include <esp_now.h>
                    #include <WiFi.h>

                    // REPLACE WITH YOUR RECEIVER MAC Address
                    uint8_t broadcastAddress[] = {0xFF, 0xFF, 0xFF, 0xFF, 0xFF, 0xFF};

                    // Structure example to send data
                    // Must match the receiver structure
                    typedef struct struct_message {
                    char a[32];
                    int b;
                    float c;
                    bool d;
                    } struct_message;

                    // Create a struct_message called myData
                    struct_message myData;

                    esp_now_peer_info_t peerInfo;

                    // callback when data is sent
                    void OnDataSent(const uint8_t *mac_addr, esp_now_send_status_t status) {
                    Serial.print("\r\nLast Packet Send Status:\t");
                    Serial.println(status == ESP_NOW_SEND_SUCCESS ? "Delivery Success" : "Delivery Fail");
                    }

                    void setup() {
                    // Init Serial Monitor
                    Serial.begin(115200);

                    // Set device as a Wi-Fi Station
                    WiFi.mode(WIFI_STA);

                    // Init ESP-NOW
                    if (esp_now_init() != ESP_OK) {
                        Serial.println("Error initializing ESP-NOW");
                        return;
                    }

                    // Once ESPNow is successfully Init, we will register for Send CB to
                    // get the status of Trasnmitted packet
                    esp_now_register_send_cb(OnDataSent);

                    // Register peer
                    memcpy(peerInfo.peer_addr, broadcastAddress, 6);
                    peerInfo.channel = 0;
                    peerInfo.encrypt = false;

                    // Add peer
                    if (esp_now_add_peer(&peerInfo) != ESP_OK){
                        Serial.println("Failed to add peer");
                        return;
                    }
                    }

                    void loop() {
                    // Set values to send
                    strcpy(myData.a, "THIS IS A CHAR");
                    myData.b = random(1,20);
                    myData.c = 1.2;
                    myData.d = false;

                    // Send message via ESP-NOW
                    esp_err_t result = esp_now_send(broadcastAddress, (uint8_t *) &myData, sizeof(myData));

                    if (result == ESP_OK) {
                        Serial.println("Sent with success");
                    }
                    else {
                        Serial.println("Error sending the data");
                    }
                    delay(2000);
                    }
2 Customizing the Sender Code
Before uploading, you must make one crucial change:
Replace the MAC Address: Find the line with uint8_t broadcastAddress[] and replace the placeholder MAC address {0xFF, 0xFF, 0xFF, 0xFF, 0xFF, 0xFF} with the actual MAC address of your receiver board (the one you obtained earlier).
For example, if your receiver's MAC address is 30:AE:A4:07:0D:64, change the line to:
uint8_t broadcastAddress[] = {0x30, 0xAE, 0xA4, 0x07, 0x0D, 0x64};
How the Sender Code Works
Library Inclusions and MAC Address
We include the necessary libraries and define the receiver's MAC address:
#include <esp_now.h>
#include <WiFi.h>
uint8_t broadcastAddress[] = {0x30, 0xAE, 0xA4, 0x07, 0x0D, 0x64};
Data Structure Definition
We define a custom structure to organize our data. This structure must match exactly on both sender and receiver:
typedef struct struct_message {
  char a[32];
  int b;
  float c;
  bool d;
} struct_message;
struct_message myData;
Callback Function for Send Status
This callback function automatically executes after each transmission attempt, telling us whether it succeeded or failed:
void OnDataSent(const uint8_t *mac_addr, esp_now_send_status_t status) {
  Serial.print("\r\nLast Packet Send Status:\t");
  Serial.println(status == ESP_NOW_SEND_SUCCESS ? "Delivery Success" : "Delivery Fail");
}
ESP32 Receiver Sketch
Now, let's look at the receiver code. Upload this to your second ESP32 board (the one whose MAC address you used in the sender sketch).
#include <esp_now.h>
#include <WiFi.h>

// Structure example to receive data
// Must match the sender structure
typedef struct struct_message {
  char a[32];
  int b;
  float c;
  bool d;
} struct_message;

// Create a struct_message called myData
struct_message myData;

// Callback function that will be executed when data is received
void OnDataRecv(const uint8_t * mac, const uint8_t *incomingData, int len) {
  memcpy(&myData, incomingData, sizeof(myData));
  Serial.print("Bytes received: ");
  Serial.println(len);
  Serial.print("Char: ");
  Serial.println(myData.a);
  Serial.print("Int: ");
  Serial.println(myData.b);
  Serial.print("Float: ");
  Serial.println(myData.c);
  Serial.print("Bool: ");
  Serial.println(myData.d);
  Serial.println();
}

void setup() {
  // Initialize Serial Monitor
  Serial.begin(115200);

  // Set device as a Wi-Fi Station
  WiFi.mode(WIFI_STA);

  // Init ESP-NOW
  if (esp_now_init() != ESP_OK) {
    Serial.println("Error initializing ESP-NOW");
    return;
  }

  // Register for receive callback
  esp_now_register_recv_cb(OnDataRecv);
}

void loop() {
  // Empty loop - all action happens in the callback
}
3 Testing Your ESP-NOW Communication
Once you've uploaded the appropriate sketches to your ESP32 boards:
- Power both boards using USB cables or an external power source
- Open the Serial Monitor for both boards (you may need two computers or switch between serial ports)
- Set baud rate to 115200 for both
- Observe the output:
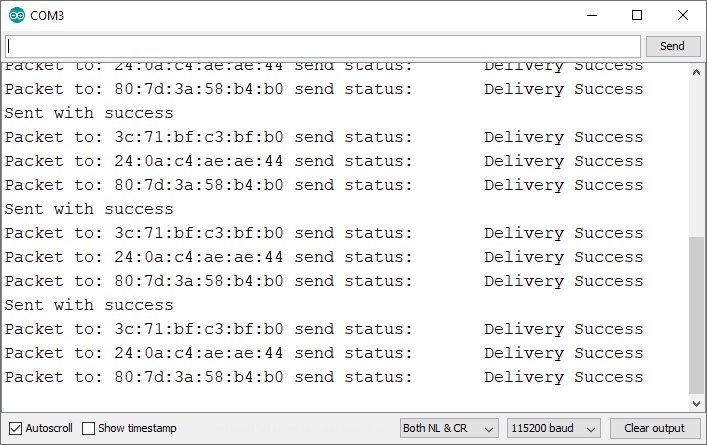
Sender Serial Monitor Output:
Sent with success
Last Packet Send Status: Delivery Success
Sent with success
Last Packet Send Status: Delivery Success
Receiver Serial Monitor Output:
Bytes received: 41
Char: THIS IS A CHAR
Int: 14
Float: 1.20
Bool: 0

Bytes received: 41
Char: THIS IS A CHAR
Int: 8
Float: 1.20
Bool: 0
If you see output like this, congratulations! You've successfully established ESP-NOW communication between two ESP32 boards.
Expanding Your ESP-NOW Projects
Now that you have a working point-to-point communication system, consider these enhancements for your projects:
Code Modifications and Improvements
- Modify the Data Structure: Change the structure to suit your specific needs - replace variables with sensor readings (temperature, humidity, etc.), add more variables (within 250-byte limit), or include status flags
- Implement Two-Way Communication: Modify both sketches so each board can send and receive. Add send capabilities to the receiver and receive capabilities to the sender
- Add Encryption for Security: For sensitive data, enable ESP-NOW encryption by setting
peerInfo.encrypt = true;and providing an encryption key - Implement Error Handling and Retries: Make communication more robust with retry logic for failed transmissions, acknowledgment systems, and timeout handling
Advanced Configurations
- Create a One-to-Many System: Program one sender to communicate with multiple receivers by adding multiple peer entries with different MAC addresses
- Mixed Communication Modes: ESP32 can connect to a Wi-Fi network while maintaining ESP-NOW connections, serving as a web server that displays data received via ESP-NOW
- Power Optimization: For battery-powered applications, implement deep sleep between transmissions, reduce transmission frequency when possible, and use the lowest sufficient transmission power
- Network Topology Management: For larger networks, implement addressing schemes, create routing logic for multi-hop communication, and develop discovery protocols
Real-World Application Examples
- Home Automation System: Central controller sends commands to multiple smart devices with sensors reporting status back
- Environmental Monitoring Network: Multiple sensor nodes collect temperature, humidity, air quality data with gateway node aggregating and uploading to cloud
- Industrial Control Systems: Machine-to-machine communication without network infrastructure with real-time control signals
- Educational Demonstrations: Wireless data transmission experiments, mesh networking concepts, and IoT protocol comparisons
Troubleshooting Common ESP-NOW Issues
Even with careful implementation, you might encounter challenges. Here are solutions to common problems:
Data Not Being Received
- Verify MAC addresses are correctly entered (most common mistake!)
- Ensure both boards are powered on and within range
- Check that both boards have compatible sketches with matching structures
- Confirm you're within operational range (typically same room/house)
Inconsistent Communication
- Reduce the delay between transmissions
- Check for Wi-Fi interference (try changing the channel)
- Ensure stable power supply (voltage drops can disrupt communication)
- Add error counters and retry mechanisms to your code
Memory Issues or Crashes
- Reduce payload size if approaching 250 bytes
- Minimize Serial.print statements during callbacks (they can delay processing)
- Ensure proper memory management in callbacks
Pairing Failures
- Reset both boards and try re-pairing
- Check that you're not exceeding the peer limit (20 total, with encryption limits)
- Verify you're using the same channel (0 for automatic channel selection)
Conclusion and Next Steps
You've now built a complete ESP-NOW communication system between ESP32 boards using Arduino IDE. This foundation enables you to create sophisticated wireless projects without the complexity of traditional Wi-Fi networks.
To further expand your ESP-NOW skills:
- Experiment with different data types in your structures
- Build a two-way communication system where both devices send and receive
- Create a one-to-many network with one controller and multiple nodes
- Integrate sensors and actuators to make a functional IoT system
- Explore the ESP-NOW documentation for advanced features and optimizations
ESP-NOW is just one of many wireless communication options for ESP32. As you become more comfortable with it, consider exploring how it compares to other protocols like Bluetooth, LoRa, or traditional Wi-Fi for different applications.
Happy building with ESP-NOW! With this powerful protocol in your toolkit, you can create efficient, reliable wireless communication systems for all your ESP32 projects.